Pointillism is a painting technique using small color dots to create detailed images. Developed by Georges Seurat and Paul Signac in the late 19th century, it emphasizes scientific color theory and optical blending, significantly influencing modern art.
1.1 Definition and Overview
Pointillism is a painting technique characterized by applying small, distinct dots of color in patterns to form an image. Developed by Georges Seurat and Paul Signac in the late 19th century, it relies on the viewer’s eye to blend the colors optically, creating vivid, luminous effects. This method emphasizes scientific color theory and precision, offering a unique approach to visual representation. In a classroom setting, understanding Pointillism involves exploring its historical roots, technical execution, and artistic significance, making it a valuable lesson in both creativity and color principles.
1.2 Historical Background
Pointillism emerged in the late 19th century as a revolutionary art movement led by Georges Seurat and Paul Signac. It evolved from Impressionism, focusing on scientific color theories and precise techniques. Seurat’s seminal work, A Sunday Afternoon on the Island of La Grande Jatte (1886), showcased the method’s potential. The movement gained prominence during the Post-Impressionist era, influencing modern art and inspiring future artists. This period marked a shift from traditional approaches, emphasizing optical blending and chromatic harmony, making Pointillism a cornerstone of artistic innovation.
1.3 Key Characteristics
Pointillism is characterized by its use of small, distinct dots of color applied in patterns to form an image. The technique relies on the viewer’s eye to blend the dots optically, creating a sense of luminosity and detail. It emphasizes color theory, with a focus on primary and secondary hues, and often avoids mixing paints on a palette. The resulting works are vibrant and textured, with a shimmering effect that captures light and movement. This method requires patience and precision, as intricate compositions are built from thousands of meticulously placed dots.

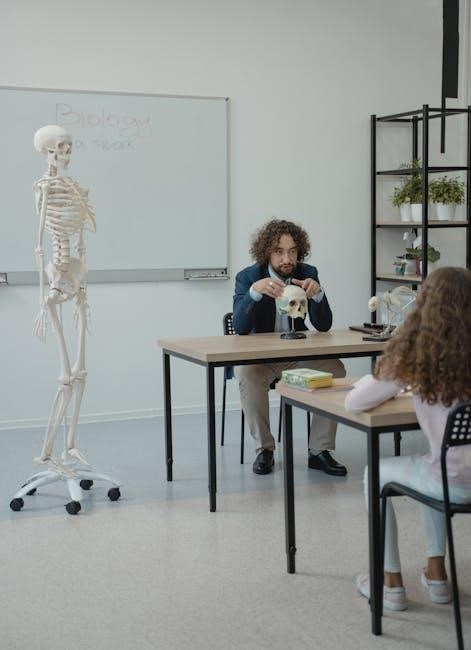
Materials Needed for a Pointillism Class
Essential materials include acrylic or oil paints, fine brushes, canvas or board, palettes, water containers, rags, and optional easels. A color wheel and visual aids are helpful.
2.1 Paints and Brushes
For a pointillism class, high-quality paints are essential. Acrylic or oil paints are ideal due to their vibrant colors and blending properties. Use fine, round-tipped brushes for precise dotting. Natural fiber brushes, like sable or taklon, are recommended for better paint control. Ensure a variety of brush sizes to accommodate detailed work. Additionally, consider using palette knives for mixing colors on the palette. Always select light-fast paints to ensure longevity of the artwork. Proper tools enhance the technique and final results, making them indispensable for teaching pointillism effectively.
2.2 Canvas and Surfaces
For pointillism, a smooth, primed surface is essential to ensure even paint application. Stretched canvas or canvas boards are ideal, as they provide a stable base for detailed work. Cotton or linen canvases are recommended for their durability and texture. Alternatively, wood panels or smooth paper can be used for smaller projects. Always prime the surface to create a uniform base for painting. Ensure the canvas is securely stretched and framed to prevent warping during the process. Smaller surfaces are great for beginners, allowing them to focus on technique without feeling overwhelmed.
2.3 Additional Tools
Beyond paints and brushes, essential tools for pointillism include a sturdy easel, palette trays for organizing colors, and a painting knife for mixing. Rags are vital for blotting excess paint, while magnifying tools or glasses can aid in intricate details. Tracing paper is useful for initial sketches, and a pencil or fine-tip marker ensures precise dot placement. Good lighting is crucial for visibility, and a spray bottle can keep paints moist. These tools collectively enhance precision, control, and efficiency in creating pointillist artworks, helping students achieve the desired optical effects in their compositions.

Understanding Color Theory in Pointillism
Pointillism relies on color theory, using scientific principles to mix hues optically. It emphasizes primary and secondary colors, warm and cool tones, and how colors interact visually.
3.1 The Role of Color Mixing
Color mixing in Pointillism is fundamental, as it relies on the viewer’s eye to blend dots of pure color. By applying scientific color theory, artists create vibrant, luminous effects without mixing paints on a palette. This technique emphasizes optical blending, where primary and secondary colors interact to produce a wide range of hues and shades, enhancing the overall visual impact of the artwork.
3.2 Primary and Secondary Colors
Primary colors—red, yellow, and blue—are the foundation of color theory and Pointillism. They cannot be created by mixing other colors and are essential for generating secondary colors like orange, green, and violet. Understanding how these colors interact is crucial, as Pointillism relies on the optical mixing of pure hues. By layering dots of primary and secondary colors, artists achieve vibrant, dynamic effects that engage the viewer’s perception and create a sense of movement and light in their work.
3.3 Warm and Cool Colors
Warm colors, such as red, orange, and yellow, evoke energy and warmth, advancing in a composition. Cool colors, like blue, green, and purple, create calmness and depth, receding from the viewer. In Pointillism, the strategic use of warm and cool colors enhances the visual impact by manipulating perception and mood. By balancing these hues, artists can guide the viewer’s eye and create dynamic, harmonious pieces. This contrast is essential for achieving the desired emotional and visual effects in a Pointillist artwork, making color temperature a key element in the technique.
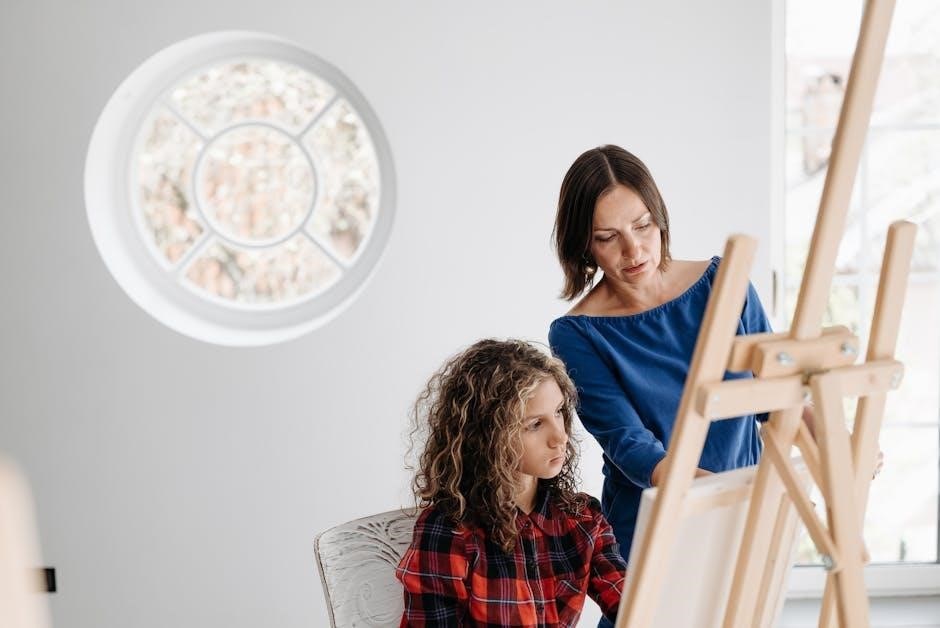
Demonstrating Pointillism Techniques
Demonstrating Pointillism involves showing students how to apply small dots of color to create detailed, vibrant images. Start with basic dotting techniques, then progress to layering and blending to achieve depth and texture. Emphasize the importance of patience and precision, as well as the role of color theory in creating optical effects. Provide step-by-step guidance and practical examples to help students master the technique effectively.
4.1 Basic Dotting Techniques
Begin by teaching students to apply small, precise dots of color using fine brushes. Demonstrate how to create uniform patterns and vary dot spacing for depth. Emphasize starting with outlines and gradually filling in areas. Show how to layer dots to build texture and shading. Highlight the importance of consistent dot size and spacing for a cohesive look. Encourage students to practice varying pressure and angle for different effects. This foundational step helps students understand how dots blend optically to form detailed, vibrant images, essential for mastering Pointillism.
4.2 Layering and Blending
Instruct students to apply multiple layers of dots, allowing each layer to dry before adding more. This technique enhances color intensity and depth. Demonstrate how layering creates intricate textures and dimensional effects. Emphasize the importance of blending colors optically rather than physically on the canvas. Show how overlapping dots of complementary colors can produce vibrant hues. Guide students to experiment with layering to achieve subtle transitions and shading. This process mimics the scientific approach of Pointillism, where layered dots create a cohesive, visually striking image when viewed from a distance.
4.3 Creating Depth and Perspective
Teach students to use dot placement and size to create depth. Larger dots in the foreground and smaller dots in the background simulate perspective. Demonstrate how varying dot density and color contrast can enhance spatial relationships. Guide students to overlap dots at the edges of forms to suggest distance. Encourage experimentation with warm and cool colors to create depth illusions. Emphasize the importance of maintaining consistency in technique to achieve a cohesive, three-dimensional effect in their compositions. This approach aligns with Pointillism’s scientific principles of optical mixing and spatial perception.

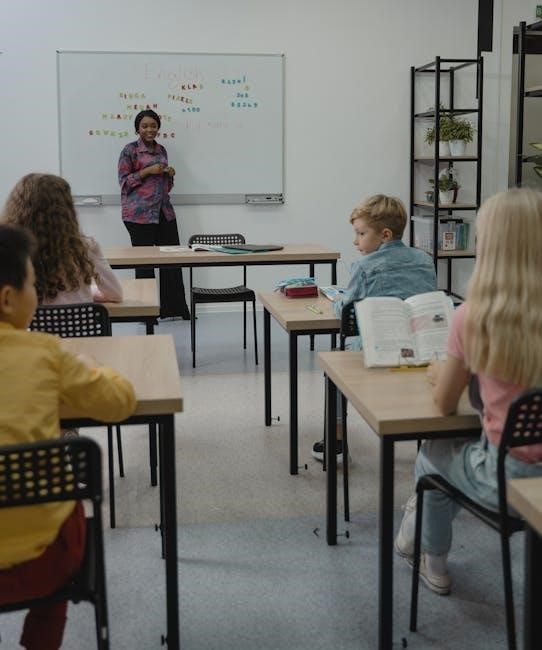
Lesson Plan Structure
A well-structured lesson plan includes an engaging introduction, a clear demonstration of techniques, and ample time for student practice with constructive feedback to ensure understanding and progress.
pointillism, briefly explaining its origins and significance. Engage students with a warm-up activity, such as drawing simple shapes using small dots to familiarize them with the technique. This exercise helps build comfort and understanding, ensuring students are ready to explore more complex concepts. Encourage questions and provide demonstrations to foster engagement and clarity from the start.
5.2 Step-by-Step Instruction
Begin by distributing materials and explaining the basics of pointillism. Demonstrate the dotting technique, emphasizing the importance of consistent spacing and color layering. Guide students through creating a simple composition, such as a landscape or still life, using pre-mixed colors. Encourage them to observe how dots blend optically. Provide examples of varying dot sizes and densities to illustrate depth and texture. Allow time for students to practice each step, offering individual support and answering questions. Positive reinforcement and patience are key to helping students master the technique.
5.3 Student Practice and Feedback
After the demonstration, allow students ample time to practice the pointillism technique independently. Circulate around the room to monitor progress, offering guidance and addressing challenges. Provide constructive feedback on color choice, dot placement, and blending. Encourage students to experiment and explore creative interpretations. Consider dedicating time for peer sharing, where students discuss their work and observations. This fosters collaboration and reinforces understanding. Ensure feedback is specific and supportive, highlighting strengths and areas for improvement. Positive reinforcement will help build confidence and encourage students to refine their skills.
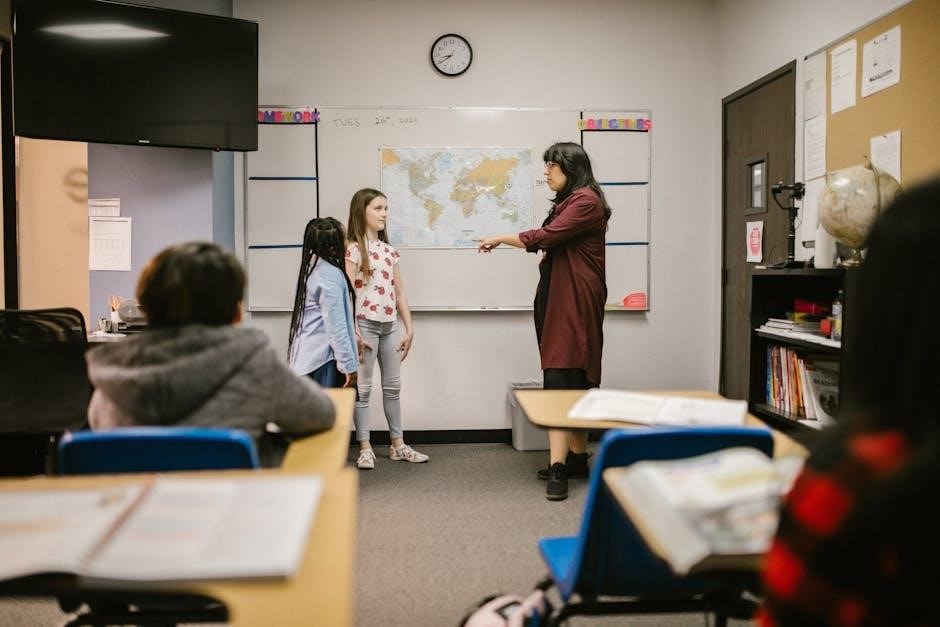
Managing Classroom Dynamics
Encourage engagement, maintain focus, and ensure all students participate. Address diverse skill levels with patience and adaptability, fostering a supportive and inclusive environment for creative learning.
6.1 Encouraging Participation
To foster engagement, teachers should create a supportive environment where every student feels valued. Use positive reinforcement, such as acknowledging efforts and progress, to build confidence. Incorporate interactive activities and group work to encourage collaboration. Provide opportunities for students to share their ideas and creations, promoting a sense of ownership and pride. Encourage questions and experimentation, emphasizing that mistakes are part of the learning process. By making the classroom inclusive and encouraging, teachers can motivate even the shyest students to participate actively.
6.2 Handling Different Skill Levels
In a pointillism class, teachers should adapt instruction to accommodate varying student skills. Provide tiered assignments, offering simpler projects for beginners and more complex ones for advanced learners. Encourage peer-to-peer learning, pairing students with differing skill levels to foster collaboration and mutual growth. Offer one-on-one support for those needing extra guidance while challenging skilled students with additional techniques. Celebrate progress at all levels to build confidence and motivation, ensuring every student feels valued and supported in their artistic journey.
6.3 Maintaining Focus and Motivation
Maintaining focus and motivation in a pointillism class requires a dynamic and engaging approach. Set clear, achievable goals for each session to help students track their progress. Incorporate short, focused exercises to keep attention sharp, while allowing time for creative exploration. Use positive reinforcement and celebrate small successes to build confidence. Encourage students to reflect on their work and set personal challenges. Rotate activities to cater to different learning styles, and incorporate brief breaks to refresh minds. Foster a supportive environment where curiosity and creativity thrive, ensuring students remain motivated and invested in their artistic growth.

Assessing Student Progress
Assessing student progress involves evaluating technique mastery, color usage, and providing constructive feedback. Regular checks guide instruction adjustments, ensuring tailored learning and skill improvement.
7.1 Observing Technique Mastery
Observing technique mastery involves evaluating students’ ability to apply pointillism methods effectively. Teachers monitor how well students create detailed images using small dots, assessing alignment with color theory principles. Regular exercises and projects help track progress, ensuring understanding of optical blending and texture. Feedback is provided to refine skills, with adjustments made to instruction based on observed challenges or strengths. This focused observation ensures each student masters the foundational techniques of pointillism, building a solid base for creative expression and artistic growth.
7.2 Evaluating Color Usage
Evaluating color usage in pointillism involves assessing how students apply color theory principles to achieve desired effects. Teachers observe the ability to mix primary and secondary colors effectively, ensuring vibrant hues without muddying. Emphasis is placed on the balance of warm and cool tones to evoke emotions and depth. Feedback is provided on the accuracy of color application and how well students use optical blending to create harmonious compositions. This evaluation helps refine their understanding of color theory and its practical application in pointillism art.
7.3 Providing Constructive Feedback
Providing constructive feedback is essential for helping students refine their pointillism techniques. Teachers should offer specific, actionable insights, highlighting strengths and areas for improvement. For example, they might suggest adjusting dot placement for better depth or refining color mixing for vibrancy. Feedback should be delivered in a supportive manner, encouraging students to reflect on their work and explore new approaches. This fosters a growth mindset and helps students build confidence in their artistic abilities while mastering the intricacies of pointillism.
Integrating Pointillism into the Curriculum
Integrating pointillism enhances art education by connecting it to art history, science, and math. This interdisciplinary approach fosters creativity and critical thinking while engaging students deeply in the curriculum.
8.1 Connecting to Art History
Pointillism, pioneered by Georges Seurat and Paul Signac, emerged in the late 19th century as a revolutionary art movement. By teaching pointillism, educators connect students to its historical roots, emphasizing its break from traditional techniques and its reliance on scientific color theory. This method allows students to explore how pointillism influenced modern art movements, such as Neo-Impressionism and Fauvism. Understanding its historical context helps students appreciate the innovation and intellectual rigor behind this unique style, fostering a deeper connection to art history and its evolution over time.
8.2 Linking to Other Subjects
Pointillism connects to various subjects beyond art, enriching interdisciplinary learning. Its foundation in color theory aligns with science, exploring light and pigment behavior. Math concepts like pattern recognition and geometry are evident in the structured dot placement. Additionally, the technique’s emphasis on detail and precision can link to technology, such as digital art and pixelation. By integrating these connections, teachers can show how pointillism bridges art with STEM fields, fostering a holistic understanding and encouraging students to see art as part of a broader educational framework.
8.3 Promoting Cross-Curricular Learning
Pointillism offers a unique opportunity to foster cross-curricular learning by connecting art to subjects like science, mathematics, and history. Teachers can explore how color theory aligns with scientific principles, while geometric patterns in pointillism link to math concepts. Additionally, discussing the historical context of pointillism’s development ties it to social studies. By integrating these connections, educators create a holistic learning experience, encouraging students to see art as an interdisciplinary field. This approach not only enriches understanding but also promotes critical thinking and creativity across multiple subjects.
Encouraging Creativity and Expression
Encourage students to explore artistic freedom, experiment with unique techniques, and express personal interpretations through pointillism, fostering individuality and confidence in their creative processes.
9.1 Allowing Artistic Freedom
Allowing artistic freedom empowers students to explore their creativity without rigid constraints. Encourage them to experiment with colors, techniques, and interpretations, fostering individuality and confidence. Provide guidance while letting them take ownership of their work, enabling them to express personal ideas and emotions; This approach nurtures creativity, promotes self-expression, and helps students develop their unique artistic voice. By giving them the liberty to make choices, you inspire innovation and passion for the art form, making the learning process more engaging and meaningful.
9.2 Exploring Different Themes
Exploring various themes in a pointillism class encourages students to connect with diverse subjects, fostering creativity and engagement. Themes like landscapes, portraits, or abstract compositions allow learners to express personal interests and emotions. Teachers can guide students in selecting themes, helping them brainstorm ideas and plan compositions. This approach enhances creativity and critical thinking, as students adapt pointillism techniques to different subjects. By exploring themes, students gain a deeper understanding of the medium and develop their artistic voice, making the learning experience more meaningful and enjoyable.
9.3 Fostering Individual Style
Fostering individual style in a pointillism class involves encouraging students to experiment and express their unique artistic voice. Teachers should promote creativity by allowing students to explore personal interpretations of themes and techniques. Encouraging experimentation with dotting patterns, color choices, and composition helps students develop their distinct style. Providing personalized feedback and celebrating diverse outcomes motivates learners to embrace their originality. By creating a supportive environment, teachers empower students to refine their artistic identity, making the learning process both rewarding and fulfilling.

Addressing Common Challenges
Addressing common challenges in pointillism instruction involves managing time effectively, reducing student frustration, and adapting to diverse skill levels, ensuring all learners thrive creatively;
10.1 Managing Time Effectively
Managing time effectively in a pointillism class is crucial to ensure students complete their work and grasp the technique. Teachers should create a structured schedule, allocating specific time for warm-up exercises, demonstrations, and hands-on practice. Breaking the lesson into timed segments helps maintain focus and productivity. Encouraging students to work steadily and providing regular check-ins can prevent procrastination. Additionally, setting clear deadlines for each stage of the project helps students stay on track, fostering a balanced and efficient learning environment while allowing for creativity to flourish.
10.2 Dealing with Frustration
Frustration often arises in pointillism classes due to the technique’s meticulous nature. Students may feel impatient with the slow progress or dissatisfaction with their initial results. Teachers should encourage breaks to refresh minds and hands. Positive reinforcement and constructive feedback can help students stay motivated. Demonstrating techniques again or providing one-on-one guidance can alleviate frustration and build confidence. Creating a supportive environment where mistakes are seen as learning opportunities fosters resilience and helps students persevere through challenges.
10.3 Adapting to Different Class Sizes
Teaching pointillism to varying class sizes requires flexibility. For larger classes, focus on clear demonstrations and group activities to ensure engagement. Smaller classes allow for personalized attention and tailored instruction. Regardless of size, ensure materials are distributed efficiently and students understand techniques. Monitor progress and adjust instruction time as needed. Encourage collaborative learning in larger settings and provide one-on-one support in smaller groups. This adaptability helps maintain student engagement and ensures all learners grasp the fundamentals of pointillism effectively.
Pointillism offers a unique, engaging art experience, fostering creativity and technical skill development. Its principles, rooted in color theory, provide valuable lessons for students of all levels.
11.1 Summary of Key Points
This guide has explored the essentials of teaching Pointillism, from its historical roots to practical classroom strategies. It covered materials, color theory, and techniques, emphasizing student engagement. The curriculum integration and creativity encouragement sections highlighted the art form’s educational value. Assessments and classroom dynamics were addressed to ensure effective learning. By focusing on these elements, educators can help students master Pointillism while fostering artistic expression and technical skill development. This approach ensures a comprehensive understanding of the technique and its application in modern art education.
11.2 Final Thoughts and Encouragement
Congratulations on completing this guide to teaching Pointillism! Encourage students to embrace the unique challenges and rewards of this technique. Remind them that patience and practice are key to mastering the art of creating vibrant, detailed images through small dots. Foster creativity and confidence, allowing students to explore and express their individual styles. By integrating Pointillism into your curriculum, you help students develop a deeper understanding of color theory and composition. Encourage continuous exploration and enjoyment of this timeless artistic method, inspiring a lifelong appreciation for creative expression and innovation in art.
Additional Resources
Explore recommended readings, online tutorials, and workshops to deepen your understanding of Pointillism. Utilize educational websites and videos for practical insights and inspiration in teaching this technique.
12.1 Recommended Reading
For a deeper understanding of Pointillism, consider key textbooks like The Art of Pointillism and Pointillism: A Beginner’s Guide. These resources provide detailed techniques and historical context. Additionally, Teaching Meaning in Artmaking by Sydney Walker offers insights into integrating art theory into classroom instruction. Online guides like “The Search Query” and “Exploring World History” also offer practical tips for structuring lessons and connecting art to broader educational goals. These materials are invaluable for teachers aiming to create engaging and informative Pointillism classes.
12.2 Online Tutorials and Videos
YouTube offers a variety of tutorials on Pointillism, such as “Pointillism Art Lesson for Beginners” and “How to Create Pointillism Paintings.” Khan Academy and Skillshare provide in-depth video courses on art techniques. Additionally, short instructional videos on platforms like Vimeo demonstrate step-by-step dotting methods. Teachers can also use search queries like “Pointillism art lessons” or “how to teach Pointillism” to find relevant content. These resources are ideal for classroom demonstrations and student practice, offering both visual and practical guidance for mastering the technique.
12.3 Workshops and Courses
Workshops and courses on Pointillism are available through art schools, online platforms, and community centers. Platforms like Coursera and Udemy offer courses on art techniques, including Pointillism. Local art schools often host workshops where teachers can learn hands-on. These sessions typically cover color theory, dotting techniques, and composition. Some workshops focus on teaching methods, helping educators adapt Pointillism for classroom instruction. These resources provide practical experience and expert guidance, making them invaluable for teachers aiming to master and share Pointillism effectively.